
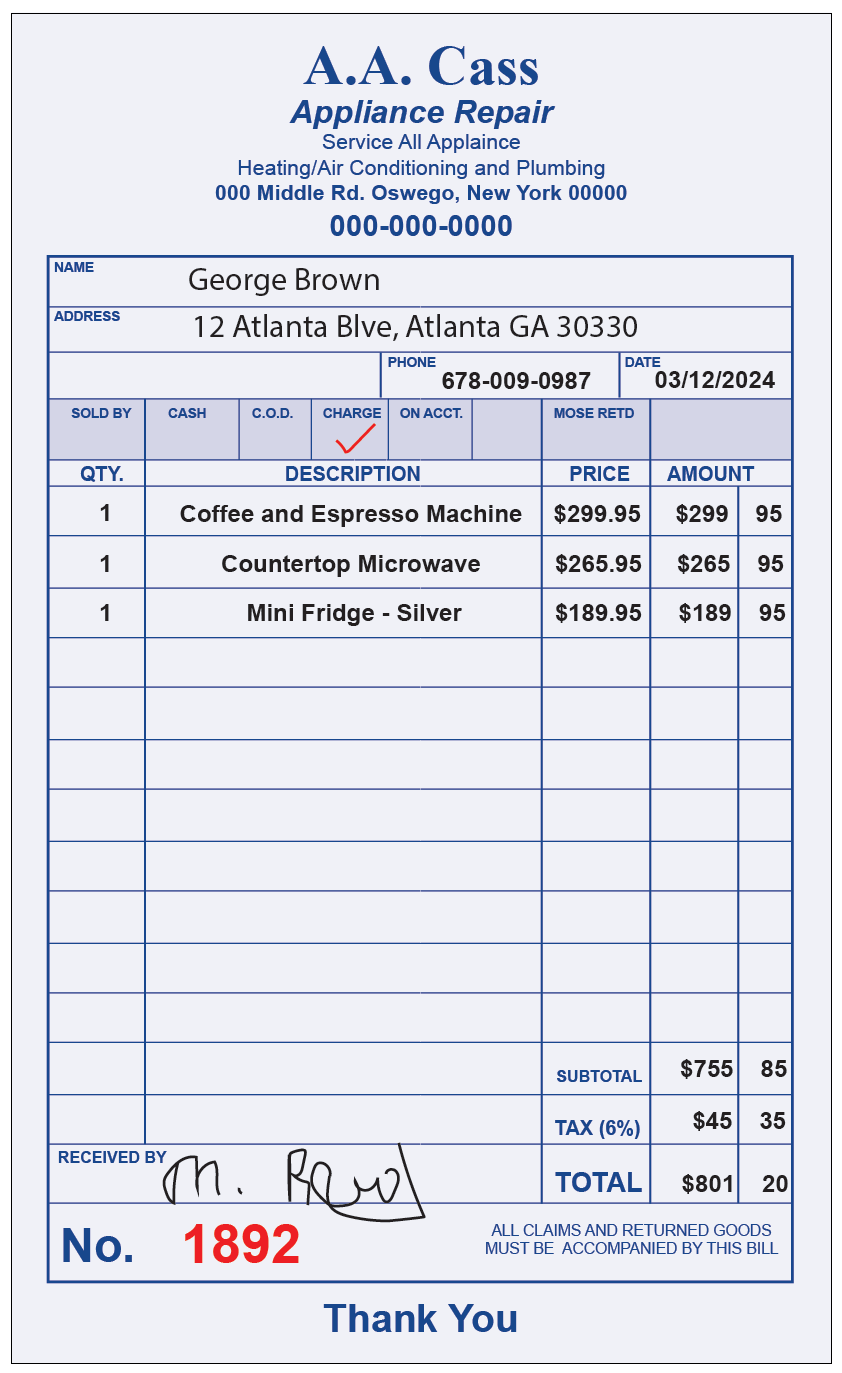
Write the date, receipt number, payer, amount, method, description, taxes, and sign both copies.
If you need a clean, simple system for tracking payments, you’re in the right place. I’ve helped small shops, landlords, and nonprofits master how to fill out a receipt book with confidence and speed.
This guide breaks down every step, shows real examples, and shares pro tips that keep your books neat, compliant, and audit‑ready. Read on to learn how to fill out a receipt book like a pro.

What a Receipt Book Is and Why It Matters?
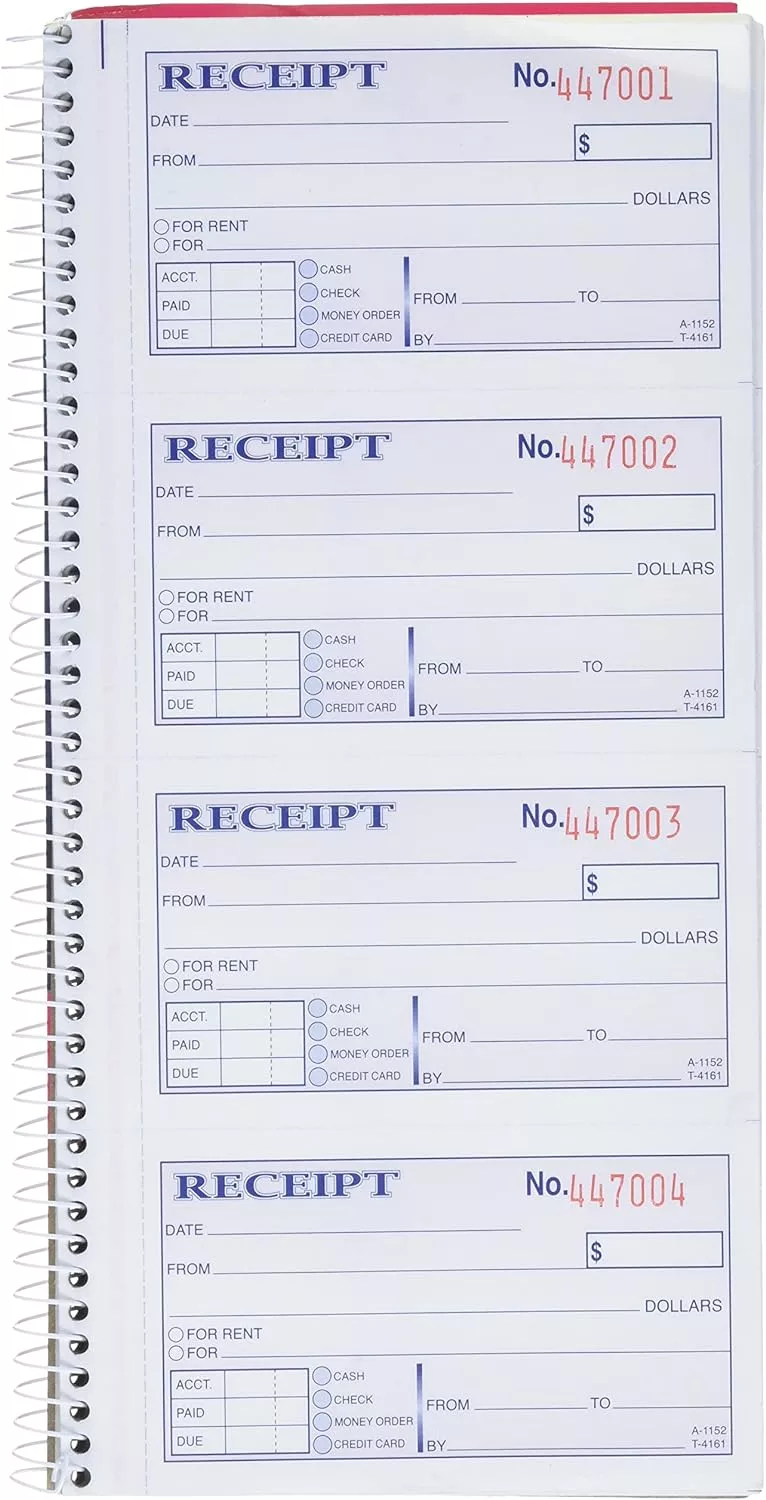
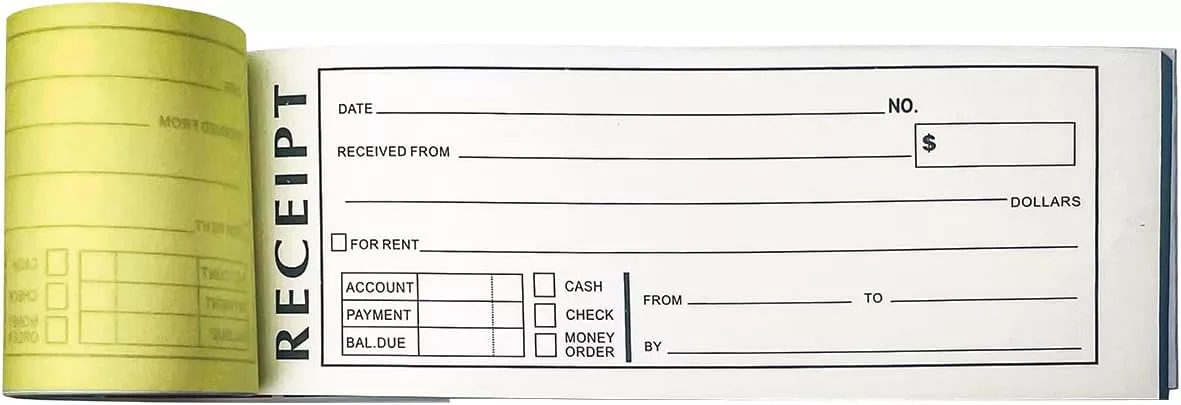
A receipt book is a bound set of pre-numbered forms. You write a receipt for each payment you receive and keep a copy for your records. It is proof of payment for the payer and a record for you.
Good receipts reduce disputes, support tax filings, and help you spot errors fast. They also create an audit trail.
If you ever get questions from a client, your bank, or a tax agency, solid receipts save time. Learning how to fill out a receipt book protects revenue and trust.

Tools and Info You Need Before You Write
Set yourself up so each receipt is fast and correct. Before you learn how to fill out a receipt book step by step, gather these:
- A pen with dark, permanent ink for legibility and durability.
- A calculator to confirm totals, taxes, and discounts.
- Your business name, address, phone, and tax ID.
- Your current sales tax rate and any local add-ons.
- A clear numbering plan so you never reuse receipt numbers.
- A short list of payment methods you accept.
- A stamp for “Paid,” “Refunded,” or “Void,” if you use one.
Tip from experience: keep a small checklist card inside the cover. It helps new staff learn how to fill out a receipt book without missing fields.
Step-by-Step: How to Fill Out a Receipt Book
Use this simple flow every time. It is the fastest way to keep things clean and consistent. If you ever train a teammate on how to fill out a receipt book, hand them this list.
- Write the date
Use the correct date of payment. Use one format, like MM/DD/YYYY. - Add the receipt number
Use the pre-printed number. Do not skip or repeat numbers. - Record the payer
Write the full name or business name. Add a phone or email if space allows. - Describe what was paid for
Be specific. Example: “April rent 4/1–4/30” or “3 oil filters @ $8 each.” - Write the subtotal
This is before any tax, tip, or discount. - Calculate sales tax if it applies
Write the tax rate and the tax amount. Example: “Sales tax 7.5%: $3.38.” - Add tips or service fees if any
Note these as separate lines. - Apply discounts if any
Note amount and reason. Example: “Promo SPRING10: -$10.” - Write the total amount received
Confirm with the payer before you finalize. - Select the payment method
Check or circle: cash, card, check, bank transfer, mobile, or other. Add the last four digits of the card, a check number, or a transaction ID when possible. - Add a reference number if needed
Link it to an invoice, work order, or lease number. - Sign the receipt
You or an authorized staff member should sign. It shows acceptance and closes the loop. - Give the original to the payer and keep the copy
Press hard so the copy is clear. If writing is faint, rewrite on the copy. - Log the receipt in your ledger or app
Record date, payer, total, and method. This is how to fill out a receipt book and keep your books in sync.
Pro tip: Say out loud what you write. It keeps the payer engaged and reduces mistakes. This single habit changed the speed and accuracy of my front desk team.

Practical Examples You Can Copy
Use these simple formats. They show how to fill out a receipt book in everyday cases.
- Retail sale
Date: 05/12/2026
Receipt #: 004182
Payer: Jamie Cole
Description: T-shirt (2 @ $15), Cap (1 @ $12)
Subtotal: $42.00
Sales tax 7.5%: $3.15
Total: $45.15
Paid by: Card (•••• 2841)
Signature: K. Rivera - Rent receipt
Date: 06/01/2026
Receipt #: 000773
Payer: Mark Turner
Description: June rent, Unit 2B
Subtotal: $1,200.00
Total: $1,200.00
Paid by: Bank transfer (Ref # 9F31A)
Signature: L. Chen - Service deposit
Date: 08/03/2026
Receipt #: 001055
Payer: Bright Lawn LLC
Description: 50% deposit for landscaping project INV-3420
Subtotal: $750.00
Total: $750.00
Paid by: Check (#2289)
Signature: M. Patel
These samples keep details short, clear, and easy to scan. They also show the right order for how to fill out a receipt book across use cases.
Special Cases and How to Handle Them
When you learn how to fill out a receipt book, plan for edge cases. Here is how to keep them clean.
- Partial payments
Write “Partial payment” and the remaining balance. Add the related invoice number. - Deposits and retainers
Label the receipt “Deposit.” Note if it is refundable or applied to a future invoice. - Refunds
Issue a new receipt labeled “Refund.” Include the original receipt number and amount returned. - Discounts and coupons
Record the discount and why. Keep the math visible. - Tips and gratuities
List the tip on a separate line. This helps with payroll tracking later. - Tax-exempt sales
Write “Tax-exempt.” Record the exemption certificate number if you have it. - Multiple items or lines
Use extra lines. Never lump many items into one vague line. - Donations
Write “Donation,” the amount, and a note like “No goods or services provided,” if that applies in your area.
These small notes are gold when you or an auditor reviews records later. This is a core part of knowing how to fill out a receipt book with confidence.
Best Practices for Accuracy and Compliance
This section takes you beyond the basics of how to fill out a receipt book. It keeps you safe and fast.
- Use permanent ink and print clearly in block letters.
- Never leave blank spaces. Draw a line through unused space.
- Correct errors with one strike-through, then initials and date. Never erase.
- Keep consistent terms, like “Sales tax,” “Discount,” and “Total.”
- Match every receipt to a ledger entry or invoice.
- Secure your receipt book. Lock it up after hours.
- Review numbers weekly. Make sure no receipts are missing.
From experience: we once skipped weekly reviews and found a 10-receipt gap a month later. Tight reviews would have caught it on day three. A simple weekly sweep is a cheap insurance policy.
Storage, Tracking, and Audit Readiness
If you master how to fill out a receipt book, the next edge is storage. A tidy system saves you during tax time.
- File receipts in order by number and date.
- Scan copies and back them up to cloud storage.
- Reconcile daily or weekly against your bank deposits.
- Match to invoices and mark them as paid.
- Keep receipt copies for the retention period that fits your region’s rules.
For teams, assign one person to issue receipts and another to review. This basic separation of duties reduces risk.

Paper vs. Digital Receipts: Which Should You Use?
Paper books are cheap, fast, and work without power or Wi‑Fi. They are ideal for markets, home services, or field teams. They also train staff on the basics of how to fill out a receipt book.
Digital tools automate math, attach photos, and sync to accounting software. They reduce data entry and lost slips. A hybrid setup is best for many small businesses: use a receipt book in the field and log the data in an app at day’s end.
Whichever you pick, keep the format stable. Use the same fields, in the same order, so your records stay clean.
Frequently Asked Questions of how to fill out a receipt book
What details are required on every receipt?
Include date, receipt number, payer, description, subtotal, tax, total, payment method, and signature. These are the core fields for how to fill out a receipt book.
Do I need to sign the receipt?
Yes. A signature confirms the payment was received by an authorized person. It also helps resolve disputes later.
How do I handle cash payments safely?
Count cash with the payer present and say the amount aloud. Note the method as “Cash” and store funds in a secure box right away.
Can I correct a mistake on a receipt?
Yes. Strike through the error with one line, write the correction, then add your initials and date. Never use white-out or erase.
How should I number receipts?
Use the pre-printed sequence and never skip numbers. If a receipt is voided, keep it and mark it “Void” with a note.
Do I need to include sales tax on receipts?
Include it if your sale is taxable in your area. Show the tax rate and amount as separate lines to keep it clear.
How long should I keep receipt copies?
Keep them for the full retention period in your region, often three to seven years. Digital backups help if paper fades.
Conclusion
You now know how to fill out a receipt book from start to finish. Use clear fields, tight numbering, and simple notes for edge cases. File, scan, and reconcile on a schedule, and you will stay accurate and audit-ready.
Start today. Print the step list, place it in your book, and practice on three mock receipts. Want more tips like this? Subscribe for weekly small business bookkeeping guides and leave a comment with your questions.